Grow in toilet rolls

Beans and peas are perfect to plant in toilet rolls because they want to grow in peace and not in the soil together with others because the roots are disturbed. A small pot in the form of a regular toilet roll is thus a perfect solution.

3 steps when to sow in a toilet roll

  1. Take a roll and cut three notches, about two cm long, so that it forms three flaps.
  2. Press down on the tabs so that they form a bottom.
  3. Fill the roll with planting soil, but leave a couple of centimeters at the top. Water a little. Add one or more seeds, fill up with soil and water a little again.

Let the rolls stand and germinate, preferably in a trough.

Odla i toarullar

Bönor och ärtor är perfekta att plantera i toarullar – de vill nämligen växa i fred och inte i jorden tillsammans med andra eftersom rötterna blir störda. En egen liten kruka i form av en vanlig toarulle är därmed en perfekt lösning.

3 steg när du ska så i en toarulle

  1. Ta en rulle och klipp tre skåror, ungefär två cm långa, så att det bildar tre flikar.
  2. Tryck ner flikarna så att de bildar en botten.
  3. Fyll rullen med planteringsjord, men lämna ett par centimeter högst upp. Vattna lite. Lägg i ett eller flera frön, fyll upp med jord och vattna litegrann igen.

Låt sedan rullarna stå och gro, helst i ett tråg.

What can I do in 1 minute?

Material

  • Hourglass, timepiece or timer
  • Clipboard

Goal

Hypothesising. Test and evaluate.

Preparation

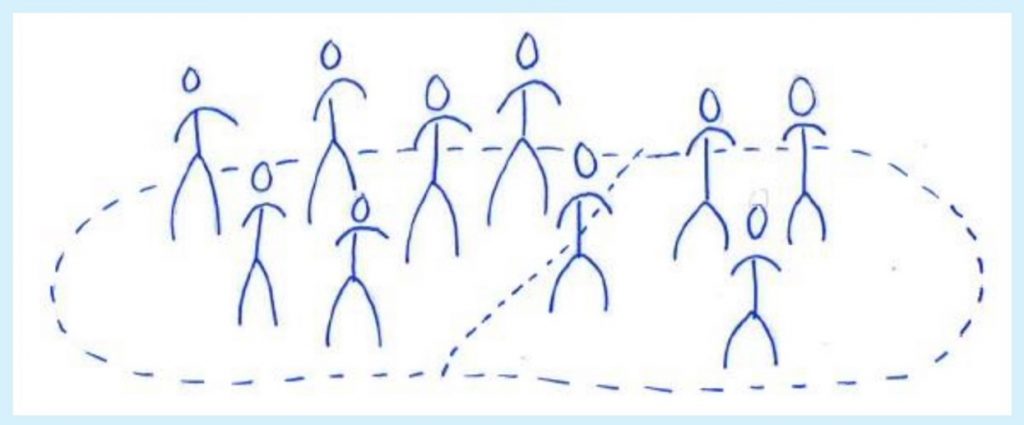
Divide the children into groups of three. One performs, one takes time and one documents.

How do you do it?

Make hypotheses like; I have time to get to the tree, run a lap around and come back. Get the children to think and come up with their own hypotheses and then perform.

Take turns and switch roles.


Image by rawpixel.com

Vad hinner jag på 1 minut?

Material

  • Timglas, tidtagarur eller timer
  • Skrivplatta

Mål

Ställa hypoteser. Testa och utvärdera.

Förberedelser

Dela in barnen i grupper om tre. En utför, en tar tid och en dokumenterar.

Hur gör du?

Ställ hypoteser som; jag hinner till trädet, springa ett varv runt och komma tillbaka.

Få barnen att fundera och komma på egna hypoteser för att sedan utföra.

Turas om och byt roller.


Image by rawpixel.com

Ice sculptures

While winter still lasts – why not try making ice sculptures (this also works when it’s not snow – you make the ice in the freezer)

Do like this:

  1. Fill deep plastic plates and bowls of different sizes with water.
  1. Put the containers in the freezer. (For clearer ice, use boiled water that has cooled.)
  2. Remove the ice cubes with hot water and place them on a high-edged surface or baking sheet, preferably out in the sun.
  3. Sprinkle a little salt over the ice. Wait a minute and you’ll see how the salt makes cracks on the ice surface.
  4. Pour a little more salt in different places so that cavities and tunnels form on the ice. This will require some time and patience.
  5. Drip liquid watercolor mixed with water over the ice and into the formed cracks to create a nice color effect (if you do this outdoors in cold weather, use warm water).
  6. Let the kids photograph ice artwork one and arrange an exhibition!

Isskulpturer

Medan vintern fortfarande varar – varför inte pröva på att göra isskulpturer (det här fungerar även att göra när det inte är snö – du gör isen i frysen)

Gör så här:

  1. Fyll djupa plastplattor och skålar i olika storlekar med vatten.
  2. Sätt behållarna i frysen. (För klarare is, använd kokt vatten som har svalnat.)
  3. Ta bort isbitarna med varmt vatten och lägg dem på en högkantig yta eller bakplåt, helst ute i solen.
  4. Strö lite salt över isen. Vänta lite så ser du hur saltet gör sprickor på isytan.
  5. Häll lite mer salt på olika ställen så att håligheter och tunnlar bildas på isen. Detta kommer att kräva lite tid och tålamod.
  6. Droppa flytande akvarell blandad med vatten över isen och in i de bildade sprickorna för att skapa en fin färgeffekt (om du gör detta utomhus i kallt väder, använd varmt vatten).
  7. Låt barnen fotografera is-konstverken och ordna en utställning!

Plant and water experiment

  1. Put some damp cotton wool in plastic bags (4 of them) and pour some Crassus seeds on top.
  2. Place on the window. When the plants have grown a little, start the experiment.
  3. Water the plastic bags with different types of water: one with salt water, one with sugar water, one with vinegar or lemon water and one with plain water. The one dipped in plain water is the control. You can put a frame around the plastic pocket.
  4. You can also compare how the cress reacts to boiled water, for example, or water with dishwashing liquid mixed in.
  5. Document, compare and discuss.

Experiment med växter och vatten

Instruktioner

  1. Lägg fuktig bomullsull i plastpåsar (4 stycken) och häll några krassefrön ovanpå.
  2. Placera i fönstret. När plantorna har vuxit lite kan du börja experimentet.
  3. Vattna plastpåsarna med olika typer av vatten: en med saltvatten, en med sockervatten, en med vinäger- eller citronvatten och en med vanligt vatten. Den som doppas i vanligt vatten är kontrollen. Du kan sätta en ram runt plastfickan.
  4. Du kan också jämföra hur krasse reagerar på till exempel kokt vatten eller vatten med diskmedel inblandat.
  5. Dokumentera, jämför och diskutera.