Introduction
Did you know that airplanes and sound have something in common? Can you guess what it might be? Air pressure! It is fascinating how air—something that is so fluid and invisible—can power an amazing number of fascinating phenomena. In this activity you will use your own breath to blow a small paper ball into an empty bottle. It sounds simple, but is it? Try it out and see for yourself!
Materials
- A four-by-four-inch piece of printer paper
- Plastic wide-mouth bottle, roughly 500 to 800 mL (If you need to use bottles with a regular opening, use a two-by-four-inch piece of paper to create the ball .)
- Table or other flat surface
- Helper
- Optional: Small balls
- Optional: Other bottles or jars
- Optional: Drinking straw
Prep Work
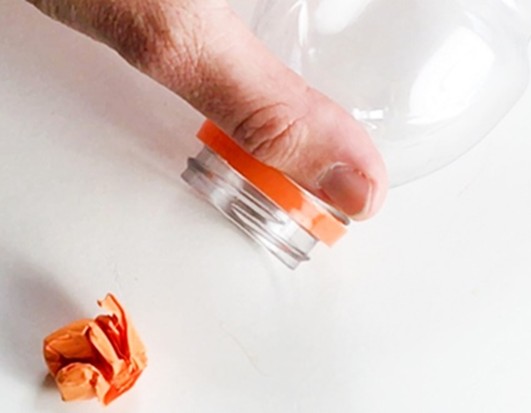
- Crumple the four-by-four-inch piece of paper into a tight ball. The ball should easily pass through the opening of the bottle.

Procedure
- Lay the bottle on its side with its mouth facing you. Ask a helper to hold the mouth down so it touches the work surface.
- Place the paper ball in front of the bottle’s mouth, about 5 centimeters away from the bottle.
- In a moment you will blow the ball into the bottle. How challenging do you expect this to be?
- Try it out! Is it as you expected?
- Switch places with your helper. Can they blow the ball in the bottle?
- Brainstorm ideas that can make blowing the ball in the bottle easier. Try out the ones that sound most promising.
- If some work, what do you think makes these solutions effective whereas others fail?
- Looking at a similar situation might help explain why it is surprisingly hard to blow a paper ball into a bottle. Try rolling or flicking the ball into the bottle.
- Is that difficult? What is different when you roll or flick a ball compared with when you blow a ball?
- Lay the cardboard tube with an opening facing you. Place the paper ball about 5 cm in front of the tube’s opening.
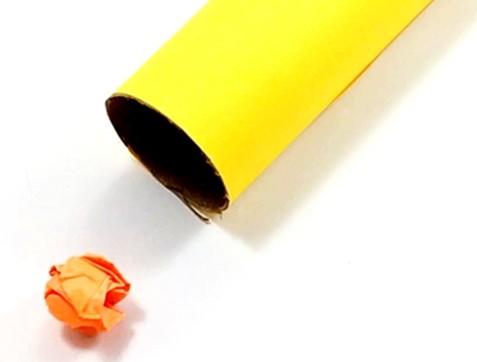
- How challenging do you expect blowing the ball into the tube will be?
- Try it out.
- Is it as you expected?
- Compare the tube with the bottle.
What is different and what is similar? What difference could make it more difficult to blow the ball in the bottle? Can you find ways to test your explanation?
What Happened?
It was probably almost impossible to blow the ball into the bottle without using a tool—but easy to blow it into the tube or roll it into the bottle.
Although the bottle and the tube seem empty, both are filled with air. The air in the tube can freely flow out at both ends of the tube, whereas the air in the bottle can only leave through its mouth.
When you blow you create a current of air, and the movement of air can take a light ball with it. When you blow toward the tube the air in front of the tube pushes the air that is already in the tube out on the other end. The ball follows the flow of air and enters the tube. When you blow toward the mouth of a bottle it is as if the air you blow and the ball following this flow of air bounce off the air that is already inside the bottle—because that inside air has nowhere to go. The ball does not enter the bottle.
You can also use Bernoulli’s observation to explain why blowing the ball does not push the ball into the bottle. The air inside the bottle is moving slowly, so it is at a higher pressure compared with the fast-moving air in front of the bottle (the air you just blew). Because air always tries to reach equilibrium the air from the bottle (the high-pressure region) will flow out of the bottle toward the low-pressure region and take the ball with it.
When you roll the ball into the bottle air can simultaneously move out of the bottle through the bottle mouth while the ball is rolling in. In order to successfully blow the ball into the bottle, you need to concentrate the air you blow onto the ball—instead of letting the air go around it. A drinking straw can help you do that.