Are you keeping your balance?
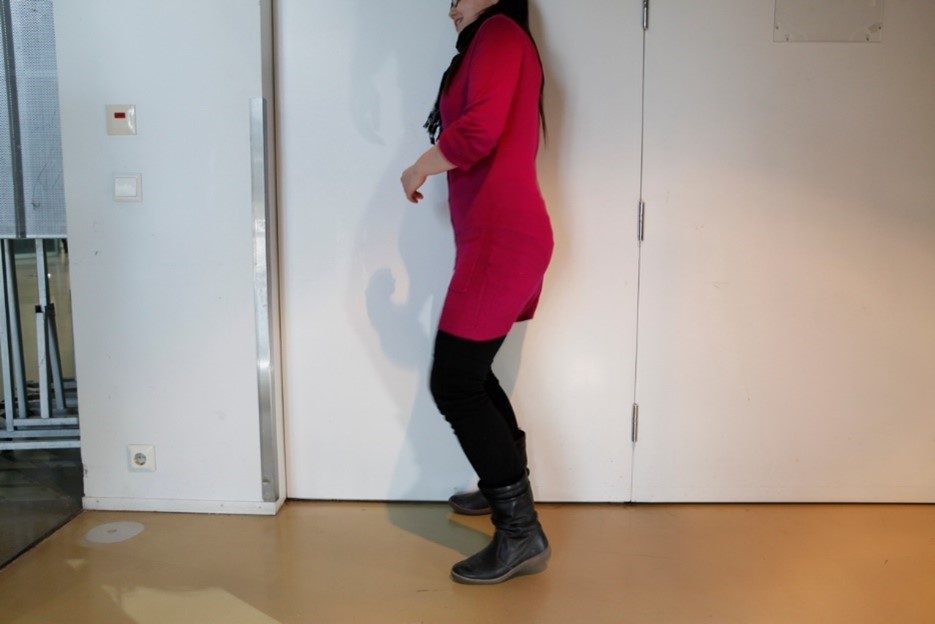
Step 1: Stand with your side against the wall, with one shoulder and your foot close to the wall.
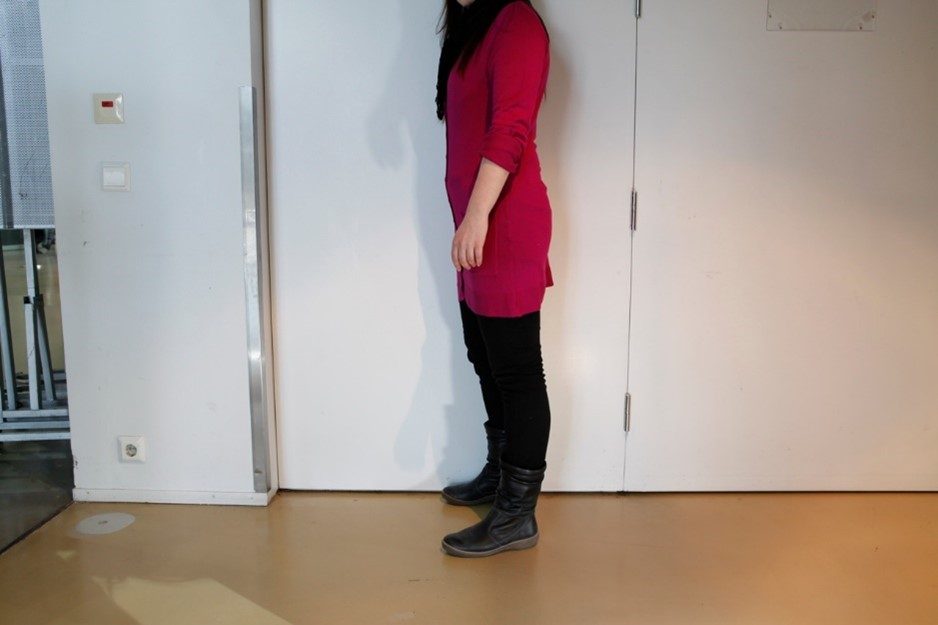
Step 2: Now try to lift the other foot, i.e. the one that is not close to the wall.
What happened?
It is impossible to lift the foot without falling. The foot that is close to the wall cannot have all the force and mass on it without changing position. You will notice this if you stand freely and lift one leg. Your centre of gravity changes. When you stand against the wall and try to shift your centre of gravity, the wall won’t let you do it. It is in the way of a change of centre of gravity that makes you stand a little crooked.
Your centre of gravity is determined by the shape of your body and by its mass. When standing upright, a person’s centre of gravity is somewhere in the middle of the stomach. You can maintain your balance with all your body parts as well as your arms and legs, by moving them. You need a support surface, such as your feet when standing upright (or on your hands if you are standing on your hands), to keep your balance. The vertical projection of the centre of gravity (i.e. the place above which the centre of gravity is located) should be inside the support surface in order to keep your balance (or somewhere between the support surfaces if there are several of them, e.g. when standing on two legs).
Idea from Heurekas Experimentfabrik