Supplies
- Bowl and spoon
- 200 mL warm water
- 5 Tbsp corn syrup (for thickness)
- Two tablespoons sugar (for crystallization)
- 5 Tbsp dish soap (for bubble formation)
- One straw
- One water or pop bottle
- modeling clay or playdough
- A day that is cold with no wind
How to Make Frozen Bubbles
For best bubble crystallization it needs to be at least -10C outside. We did this at -35C to -45C. The most important part is that there needs to be no wind.
Making the Special Frozen Bubble Juice Recipe
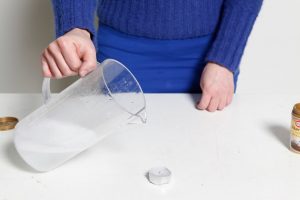
- Start by making the bubble juice in a container with a lid. Add the warm water first. We used tap water as warm as it would come out of the tap. Then stir in the corn syrup until the water is clear.
- Next add the sugar and stir until completely dissolved.
- Finally, add the dish soap and stir until combined. Do not get too enthusiastic about stirring at this stage or you will create a lot of bubbles. Stir enough to just combine the soap with the solution.
- This is why we leave the dish soap to last. The sugar and corn syrup require quite a bit of stirring to dissolve. We do not want to create bubbles in our solution now, we want to save them for later!
- Place a lid on the container and set it in the freezer or outside for about 30 minutes to chill the mixture. We do not want it to freeze! Just chill.
Making the Bubble Blaster
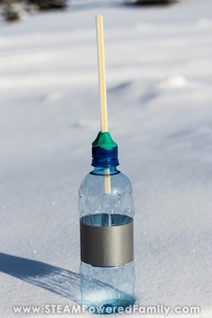
- While the juice is chilling, we need to make a special bubble blaster! For this you will need a water or pop bottle (500mL is a suitable size). Empty and dry the bottle.
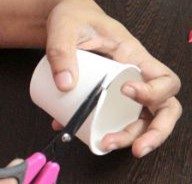
- Take the cap and drill a hole in the cap that is just big enough to fit your straw. This step should be done only by a competent adult!
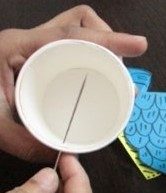
- Place the straw through the hole in the cap and secure it using modeling clay to create an airtight seal.
- If you do not have modeling clay (we prefer it because it stays pliable even in the cold and maintained the seal), you can try play dough or even a glue gun. The goal is to secure the straw and create a seal.
Freezing Bubbles
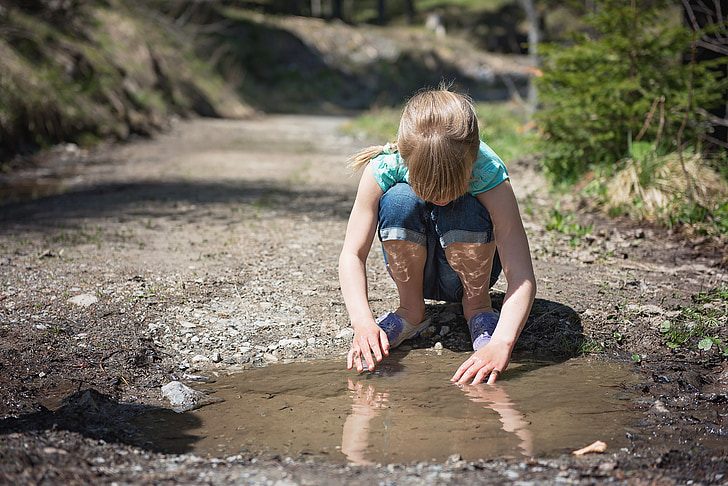
Now it is time to bundle up and head outside. Find a nice place, preferably with some fresh snow.
Using the bubble blaster, dip the end of the straw into the bubble juice, then squeeze the bottle to “blow” and create your bubble. Set the bubble on the snow and watch it crystallize. You can also drop the bubbles and watch them freeze but when they land, they are more likely to break.
Tricks to Make the Bubbles Freeze Without Breaking
Make sure your bubble juice is at least one inch deep. This allows the inside of the straw to be coated nice and high inside allowing you to create some good-sized bubbles.
The trick to making the bubbles freeze without breaking is to get them off the straw before they start to crystallize and freeze. So, blow the bubble, then release the bottle so the bubble detaches before it starts to freeze. The time you have will vary based on the temperature.
Try and set the bubble down gently. It is fun to watch them fall, but the force of the air can cause the frozen bubble to break and landing on the ground usually breaks the bubbles if falling does not do it. For best results blow the bubble onto some snow.
Make sure there is no breeze at all. This is critical. Find a sheltered spot and make sure the kids are not blowing or creating any breeze. This will cause the bubbles to shatter.
Have a nice soft-landing spot for the bubbles. We found a railing with a fresh layer of snow was perfect!
Building Frozen Bubble Towers
If you do everything right you can turn this into a fun challenge to see who can build the biggest frozen bubble tower, or who can make the longest line of bubbles, or ten bubbles in a row. Lots of opportunities for some fun, frozen competition!
The Science Behind Freezing Bubbles
After years of failures trying to get bubbles to freeze, I ended up learning a LOT about how to make this happen successfully.
First, temperature is your friend and your enemy. You need to keep everything cold and that is why we needed to create our bubble blaster. The air in our lungs is too warm and the difference in temperature between the air outside and the air we blow out of our lungs is too great and leads to breaking. Remember warm air expands! So, when you blow into the bubble juice, what is that warm air going to do? Expand and break your bubble!
That is also why we want to chill our bubble juice, to bring it closer to the outside temperature.
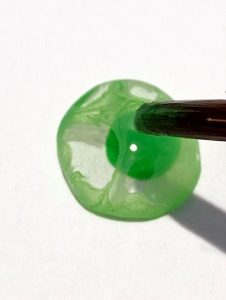
You want nice strong bubbles to really make this experiment work. To freeze up nice and solid (some of our bubbles are still there days later!), you need a thick bubble juice. The corn syrup provides that nice thickness we need in our juice to make a strong bubble. After making our bubbles if we gently knocked them free, they would roll across the ground like marbles!
Those gorgeous crystal formations you see on the bubbles is the process of crystallization. This is caused by the freezing process but is helped along by the sugar. This gives us some gorgeous frozen bubbles.
Of course, the final ingredient is dish soap which helps create the bubbles!
Idea taken from STEAMpoweredFamily
If you want tips how to document it all look at: ”How to Shoot Frozen Soap Bubbles”