 Materials needed:
- LEGO bricks
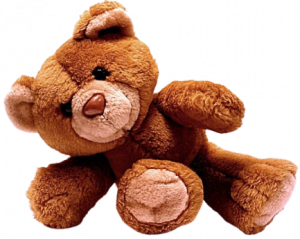
- A stuffed bear or toy that can sit on it’s bum
- Ruler to measure bear/toy (optional)
- Paper and pencil/markers/crayons
Have the children look around the room and point to all of the chairs in the room. What do they notice is the same about all of the chairs? What is the difference?
Ask them to design a chair for their favorite stuffed bear/toy that is able to plop down in a sitting position. Ask them to think about their bear as they design a chair. What does the bear need to sit up right? What does the bear need to feel comfortable? How do you make sure the bear will fit in the seat of the chair?
- Optional: First ask them to draw out their chair design on a piece of paper.
- Optional: Have your child measure the bears legs, hips, and back so they know how big their chair should be.
Then have your child start to build a chair out of LEGO. If you do not have LEGO at home, you can use craft materials found around the house! Make sure to tell your child the chair needs to be sturdy and not break easily.
When they think that they are done with the chair, have them sit their bear in it. They can test the chair as many times as they want with the bear.
Have your child reflect on the success of the chair:
- Did the bear fit in the chair?
- Did the bear stay upright or flop over?
- Did the bear look relaxed or straight?
- Did the bears legs dangle or was there support for the legs?
Then there is the most fun part, the drop test.
**Take photos and videos of the chair before the drop test**
Have an adult take the chair and hold it at hip length, then let go of the chair and see what happens to it. If pieces flew off the chair, ask your child what they could do to make the chair sturdier!
Then repeat all steps as many times as necessary or make a chair for every stuffed friend in the house!

 Materials:
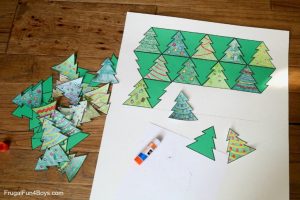 uite as nicely as mine!)
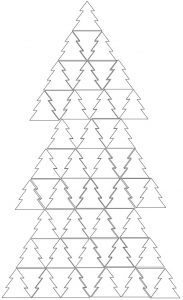
 Material
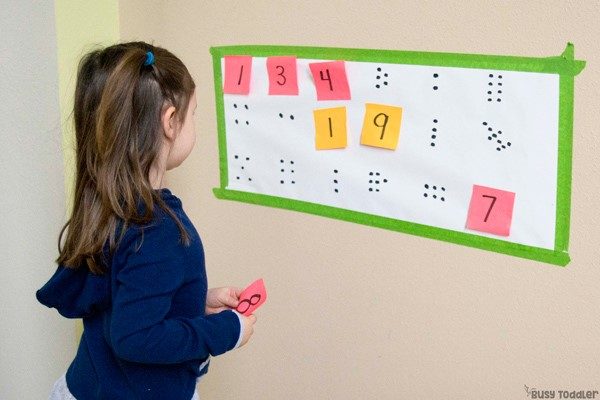
 The math memory works like a regular memory. Players take turns flipping two optional mugs. You should try to find a number that matches the number of pearls. If the mugs you have turned over do not form a pair, you turn the mugs upside down again. If the mugs are turned upside down in a pair, the player may take the mugs and count them as a pair.
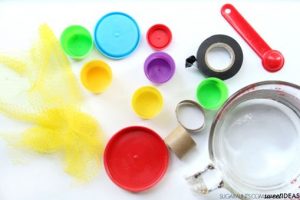 What you need:
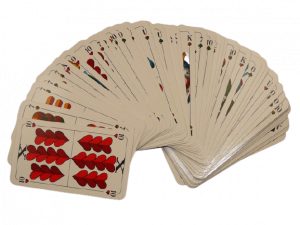 Objective: Recognize visual speech patterns; compare numbers to determine the larger value and associate number names, quantities and written numbers.