In this activity, you explore an image from a newspaper or a cartoon by thinking about how the image sounds.
Tool:
- magazine (for children)
- Tools for creating soundscapes: spoons, jars, pens, rattles, etc..
Focus on sound
The teacher asks the group to be very quiet and listen to what sounds can be heard in the room. They also think about the sounds that they hear in the kitchen at home, or out on the playground, or on the street.
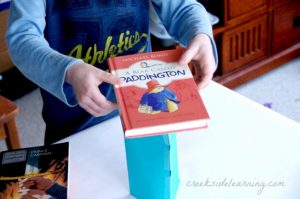
Choosing and viewing the image
The group looks for an image in a magazine and creates a sound world for it. Discuss the image together: who or what is in the picture? What is the mood of the picture, is it cheerful, sad, summery? The picture can also be a cartoon.
Design of a soundscape
Think together about what the story might sound like. The teacher gives the children different tools to create sounds and together they experiment to see what sounds they can create. If the selected image is a cartoon, the teacher can re-read it, and now the children can gild the story with sound.
Does the picture smell?
After listening to the audio story, they can think about what smells or smells flow into their nostrils in the kitchen or on the street. What smells or smells can be associated with the selected image or drawing?
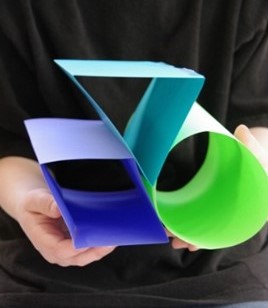 Triangle, square and circle. Which paper is the strongest?