SUPPLIES:
- 10 Jumbo Popsicle Sticks
- Rubber Bands
- Firing Power (marshmallows, pompoms, pencil top erasers)
- Plastic Spoon (optional
- Bottle Cap
- Sticky Dots
HOW TO MAKE A CATAPULT WITH POPSICLE STICKS
STEP 1: Make predictions. Which object will fly the farthest? Why do you think one will fly farther than the other?
STEP 2: Hand out supplies to each individual or in small groups, and build a Popsicle stick catapult following the instructions below.
Read more about the science behind the catapult and simple ways to create a catapult science experiment below!
STEP 3: Test and measure how far each item goes when flung from the catapult. Record results.
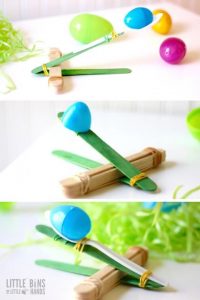
You will want to use a pair of scissors to make two v notches on either side of two jumbo craft or Popsicle sticks (in the same place on both sticks). Use the photo below as a guide for where to make your notches.
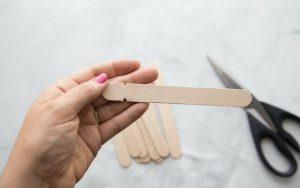
Once you have made your notches in two of the sticks, set them aside!
Take the remaining 8 craft sticks and stack them one on top of the other. Wind a rubber band tightly around each end of the stack. Go ahead and push one of the notched sticks through the stack under the top stick of the stack.
At this point flip your partially made popsicle stick catapult over so that the stick you just pushed in is on the bottom of the stack.
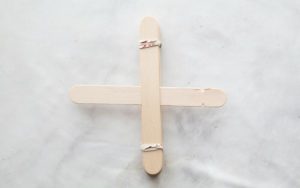
Lay the second notched stick on top of the stack and secure the two popsicle sticks together with a rubber band as shown below. The V notches that you cut help to keep the rubber band in place.
Create more leverage with your catapult by pushing the stack of popsicle sticks towards the notched ends connected by the rubber band.
Use sticky dots or another strong adhesive to attach a bottle cap to the popsicle stick. Get ready to fire away!

TURN IT INTO A SCIENCE EXPERIMENT!
You can easily set up an experiment by testing different weighted items to see which ones fly farther. Adding a measuring tape encourages simple math concepts that my 2nd grader is just really starting to explore.
Or you can build 2-3 different catapults and see which one works better or if one works better with different objects.
Always start out asking a question to come up with a hypothesis. Which item will go farther? I think xyz will go farther. Why? Have fun setting up a catapult to test the theory! Can you design a different catapult using the same materials?
Additionally, you can encourage older kids to record the data from measuring all the launches. Have your kids fire each material {such as a candy pumpkin, plastic spider or eyeball} 10 times and record the distance each time. What kinds of conclusions can they draw from the information gathered? Which item worked the best? Which item didn’t work well at all?
You can also test out the number of popsicle sticks used in the stack to create the tension need to launch the catapult. How about 6 or 10! What are the differences when tested?
THE SCIENCE OF HOW TO MAKE A CATAPULT!
What is there to explore that has to do with physics? Let’s start with energy including elastic potential energy. You can also learn about projectile motion. Newton’s 3 Laws of Motion: An object at rest stays at rest until a force is applied, and an object will stay in motion until something creates an imbalance in the motion. Every action causes a reaction.
When you pull down the lever arm all that potential energy gets stored up! Release it and that potential energy gradually changes over to kinetic energy. Gravity also does its part as it pulls the object back down to the ground.
You can talk about stored energy or potential elastic energy as you pull back on the Popsicle stick, bending it. When you release the stick all that potential energy is released into energy in motion producing the projectile motion.
MORE CATAPULT DESIGNS
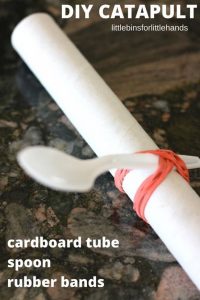
Idéa take from littlebinsforlittlehands

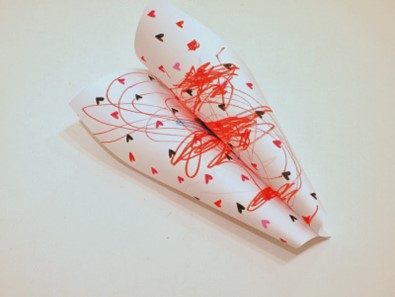
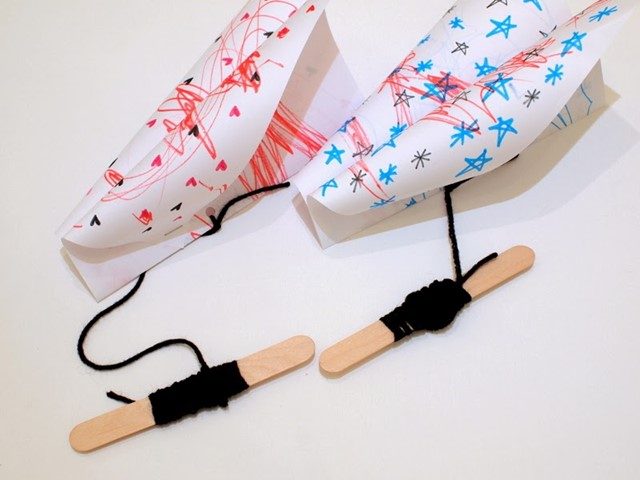 Now you can go out and fly your homemade kite! It takes a strong gust of wind to lift your kite, but if you run around (or ride your bike really fast) your kite will also float next to you.